
Use an eyelash curler to lift and shape your lashes for a more defined eye look in seconds. While it’s a simple tool, technique matters. Many use it incorrectly, causing weak curls or lash damage. Knowing when to curl, how long to hold, and how to avoid pinching makes a real difference.
Whether you’re just starting or improving your routine, proper use improves curl, comfort, and lash safety. This article shows how to use an eyelash curler effectively and keep it in top condition.
What Does an Eyelash Curler Do?
An eyelash curler lifts your lashes upward. It creates a natural curve at the base. This makes your eyes look more open and alert. It doesn’t add volume or length, but the curl gives the illusion of longer lashes.
The tool works by clamping lashes between two curved pads. A light squeeze bends the lashes upward. This shape holds better when done on clean lashes. Mascara can then lock in the curl.
Eyelash curlers are especially helpful for straight or downward-pointing lashes. Even short lashes can benefit. When used right, the results last for hours. Some think curlers damage lashes. That happens only with poor technique or dirty tools. A proper squeeze, not too tight or rushed, prevents breakage.
The right curler fits your eye shape. Not all curlers are the same. Some are wide, others more curved. Heated versions are also available for stronger hold.
When to Use an Eyelash Curler
The best time to use an eyelash curler is on clean, dry lashes—before mascara. This step matters more than people think. Curling after mascara dries can cause lashes to stick to the curler, snap, or get pulled out. If you’re applying multiple coats, curl only once at the start.
Timing also depends on your full routine. If you wear eyeshadow, curl your lashes after applying it. Eyeshadow fallout can land on lashes, and curling afterward lifts everything, including the powder. For those who tightline or apply liner at the base, curl first to get full lash access.
Mornings are ideal. Curling right after skincare and before makeup lets the curl hold better. If you wait too long, natural oils or humidity can soften the curl.
Don’t curl again during the day just to refresh your look. Once mascara dries, it’s too late. Re-curling at that point causes breakage or clumping. Stick to curling once a day. Overuse weakens the lash base and shortens natural lash life. With the right timing and steady technique, one curl is enough to hold shape through most of the day.
How to Use an Eyelash Curler Properly
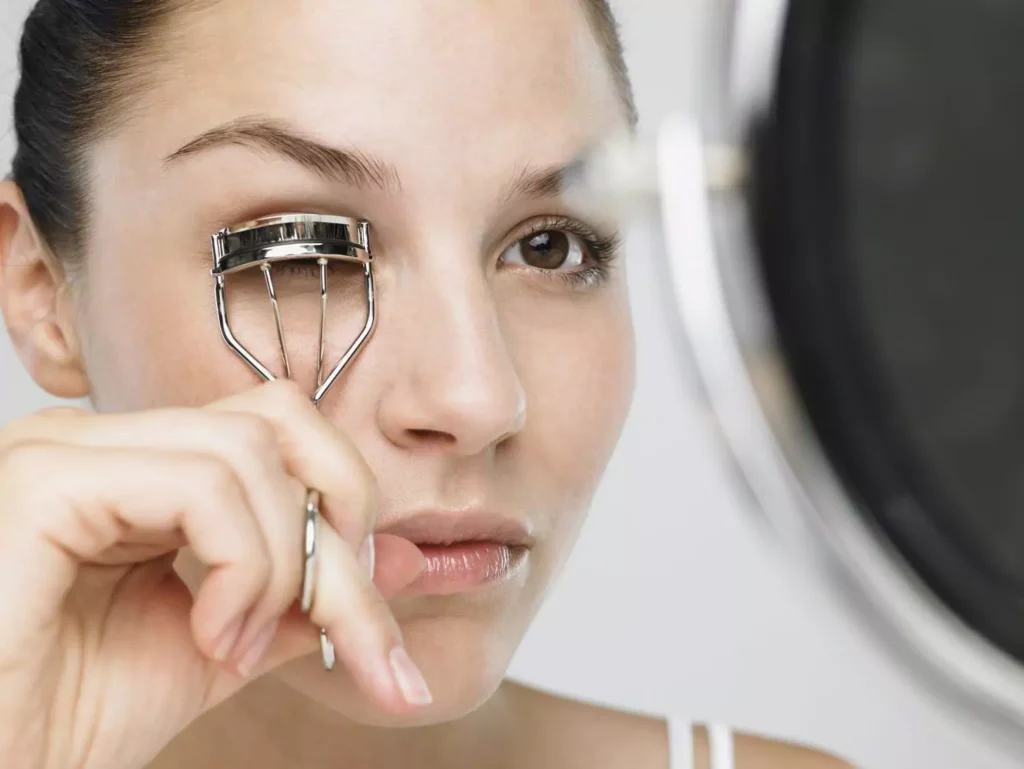
Position It Correctly
Start with clean, dry lashes. Hold the curler with your thumb and fingers like scissors. Open the clamp fully. Look slightly down and bring the curler close to your upper lash line. Make sure all lashes fit inside the curler opening. Don’t pinch the eyelid. Keep it near the base, not on the skin.
Curl in Sections
Once the curler is placed, press gently and hold for 5–10 seconds. Don’t squeeze too hard. Release slowly. Move the curler slightly upward toward the middle of the lashes. Press again for 5 seconds. Repeat once more near the lash tips. Curling in steps creates a smooth, natural lift—not a sharp bend.
Lock It In
After curling, apply mascara to hold the shape. Use a lightweight formula for a soft, lifted look. Avoid waterproof mascara unless needed—it can dry lashes out. Don’t curl again after mascara. That can stick, clump, or break lashes. One curl, done right, is enough for the day. Clean the curler regularly to keep results smooth and safe.
How to Avoid Pinching or Lash Damage
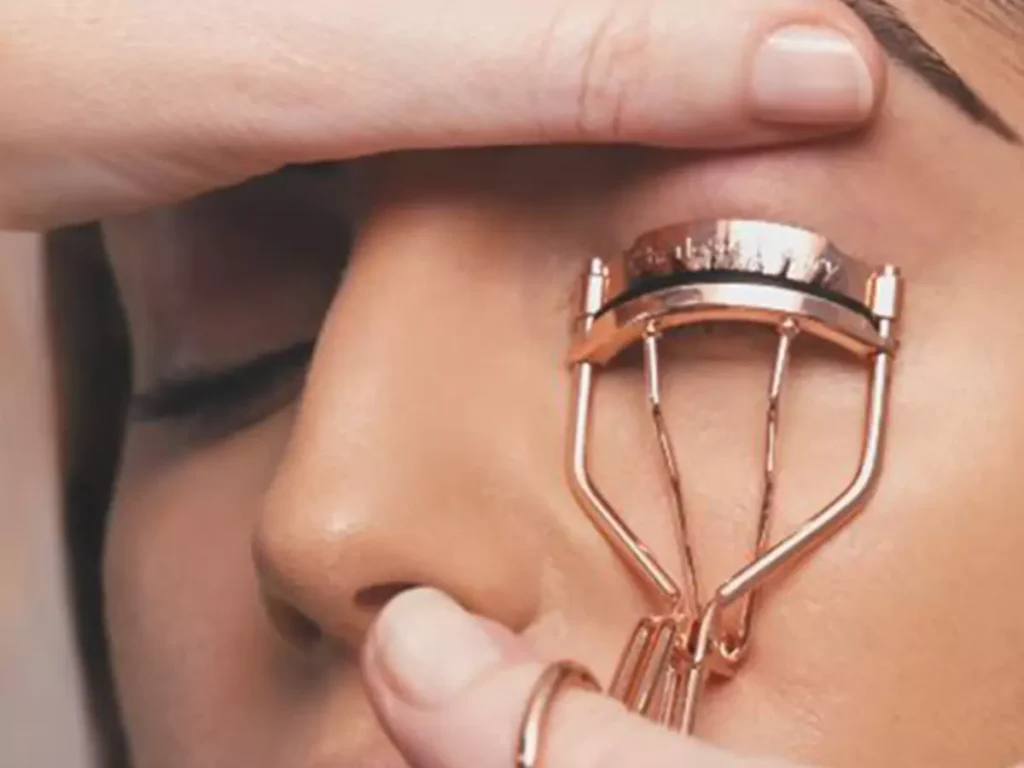
Pinching happens when the curler is too close to the eyelid or not aligned with the lash line. To avoid it, look down into a mirror, not straight ahead. This angle helps you see exactly where the curler touches your lashes. Always open the curler fully before placing it. Center it slowly—don’t rush.
Check if your lashes are dry and clean. Moisture or leftover makeup causes slipping. Never curl wet lashes. They’re weaker and more prone to breakage. Avoid squeezing too hard. Press gently and hold. The goal is to lift, not flatten. A sharp bend is a sign you’re pressing too much or curling only at the base.
If your curler has a worn-out pad, replace it. A thin or cracked pad increases pressure and damages lash structure. Finally, clean your curler weekly. Oils and mascara residue make lashes stick and pull. Use alcohol or micellar water with a cotton swab to wipe it down. This prevents lash loss and keeps the curler smooth.
How to Clean an Eyelash Curler
Cleaning your eyelash curler prevents buildup, bacteria, and lash breakage. After each use, wipe the curler with a dry tissue or cotton pad. This removes leftover mascara or oil.
Once a week, use rubbing alcohol. Soak a cotton swab or pad, then rub down the clamp and the pad area. Make sure to clean around the hinges too. Let it air dry completely.
Check the silicone pad. If it’s cracked, sticky, or discolored, replace it. Most pads need switching every 2–3 months. Never soak the entire curler in water. It can rust the metal or loosen the mechanism. A dirty curler pulls lashes. A clean one glides smoothly and lasts longer.
Frequently Asked Questions
Eyelash curler vs mascara: which comes first?
The curler always comes first. Curling before mascara prevents damage and gives a smoother result. Mascara makes lashes stiff. Pressing them afterward can cause snapping, crimping, or lash loss. Curl your lashes while they’re clean and flexible. Once curled, apply mascara to hold the shape in place. This order gives better lift and avoids unnecessary lash stress.
How long should I hold an eyelash curler?
Hold the curler for about 5 to 10 seconds. Do this at the base, then move to the middle, and finally near the tips. Short, even pressure gives better results than one long squeeze. Don’t press too hard or go beyond 10 seconds in one spot. That won’t improve the curl and might stress the lashes. If you’re using a heated curler, 3 to 5 seconds is enough. Be gentle.
What type of eyelash curler is best for my eye shape?
Your eye shape matters when choosing a curler. Almond eyes usually fit standard curlers with a medium curve. Round or hooded eyes do better with a flatter, wider tool. This helps avoid pinching at the edges. Monolid or smaller eyes need curlers with a shallow curve and shorter clamp. That gives better reach without pressing too close to the skin. Look for one that hugs your lash line without gaps.
Should you use an eyelash curler every day?
Yes, but only if you use it correctly. Curling daily is safe as long as your lashes are clean, dry, and free from mascara. Always press gently—too much force or repeated curling can weaken or break lashes over time. Avoid using it more than once a day, and make sure the pad is in good condition. A clean, well-maintained curler makes daily use safer and more effective.